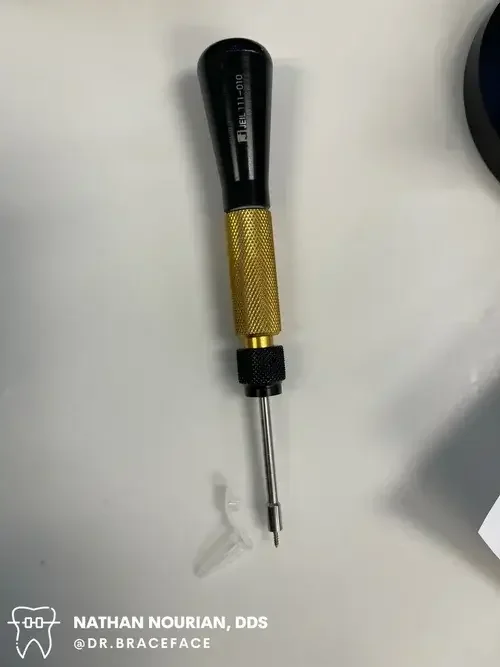
Temporary Anchorage Device (TADS)
Let me start off by saying getting a TAD is nothing to be worried about. Your orthodontist will numb you before placing the TAD so you will be comfortable throughout the procedure. About 10-15% of TADs become loose due to inadequate bon in the area. If this occurs contact your orthodontist so they can remove it and place it in another location.
Once you get home take over the counter advil or tylenol as needed for the first 24-48 hours. The area the TAD was placed can be tender for about 1 week. Make sure to brush the TAD while you are brushing your teeth to keep the area clean. I also advise my patients to swish with salt water for 60 sec 2x a day for the first week after TADs placement.
Minor swelling is normal for the first week but if the swelling appears to become worse or the area gets infected please contact your orthodontist.
TADs Aftercare Instructions
Temporary Anchorage Devices (TADs)
At Textbook Orthodontics, we use the latest techniques to achieve excellent results—and Temporary Anchorage Devices (TADs) are one of the most powerful tools in modern orthodontics. TADs are small titanium screws placed in the jaw to help move teeth more efficiently and accurately. They provide a stable anchor point for specific tooth movements and can reduce the need for headgear, extractions, or jaw surgery.
If you’ve recently had TADs placed, proper care is essential to ensure healing and avoid complications. Don’t worry—aftercare is simple, and our team is here to guide you every step of the way.
What to Expect After TAD Placement
The procedure to place TADs is quick, gentle, and performed with local anesthetic to ensure comfort. After the numbness wears off, it's normal to feel minor soreness for the first day or two. You may also notice slight pressure around the area—that means the TAD is doing its job.
TAD Aftercare Instructions
1. Keep the Area Clean
Maintaining excellent oral hygiene is critical. Brush gently around the TAD using a soft toothbrush at least twice a day. You can also use a cotton swab or interproximal brush (like a proxy brush) dipped in mouthwash to clean around the TAD.
2. Rinse with Antimicrobial Mouthwash
Use a non-alcohol antimicrobial mouth rinse (such as Peridex or Listerine Zero) twice daily for the first week. This helps prevent infection and promotes healing around the site.
3. Avoid Touching the TAD
Do not touch or wiggle the TAD with your fingers or tongue. TADs are stable, but unnecessary pressure or movement can loosen them.
4. Watch What You Eat
For the first few days, avoid sticky, crunchy, or hard foods that may irritate the area. Chew on the opposite side of your mouth if possible. After the initial healing period, you can return to your normal diet—just continue to be mindful.
5. Minor Bleeding or Irritation
It’s normal to see a small amount of bleeding or redness at the placement site. If needed, apply gentle pressure with a clean gauze pad. If irritation continues, orthodontic wax can be placed around the TAD to protect your cheeks or tongue.
When to Call Us
Call our office if you experience any of the following:
Persistent or severe pain
Swelling or pus around the TAD
TAD feels loose or falls out
Difficulty brushing or cleaning around the TAD
We're always here to help. If a TAD needs to be repositioned or replaced, it can be done quickly and comfortably.
Healing and Removal
TADs are temporary and usually stay in place for a few months, depending on your treatment needs. When it’s time for removal, the process is quick, painless, and doesn’t require anesthesia. Most patients say it feels like getting a bracket removed—just a little pressure and it’s done!
Have Questions? We’ve Got You.
Your comfort and treatment success are our top priorities. If you have any concerns or want tips for easier cleaning, don’t hesitate to reach out. We’re with you every step of the way—because that’s the Textbook Orthodontics difference.

